Setting up your Vivint DW11 door/window sensors is simple! This guide compares two methods: using your Vivint panel or the Vivint app. We'll walk you through each step, highlighting pros and cons to help you choose the best approach.
Method 1: Panel-Based Installation
This method uses your Vivint control panel. It's a good option if you prefer a hands-on approach and don't rely heavily on your internet connection.
Step-by-Step Guide:
Unboxing and Preparation: Remove the sensor, magnet, and instructions from the packaging. Examine the diagram showing how the sensor and magnet fit together.
Sensor Activation: Remove the small battery tab on the back of the sensor. This activates the sensor. You might hear a click—that's normal!
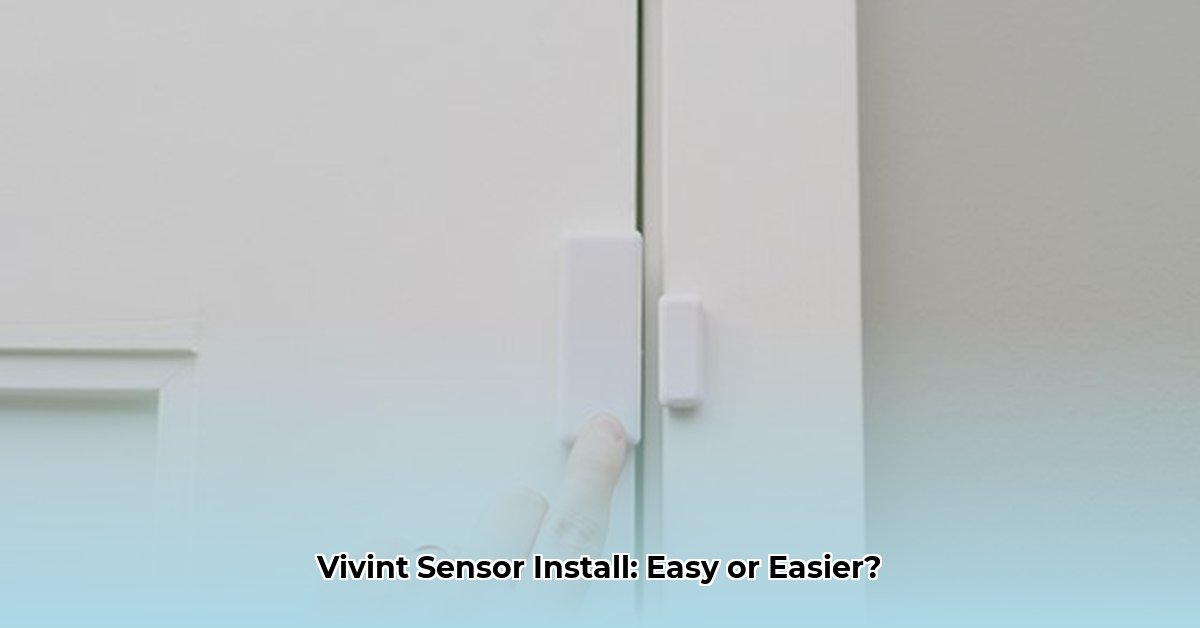
Placement: Attach the sensor to your door or window frame and the magnet to the opposite side, ensuring they are close together and aligned correctly. Test the alignment before permanently installing.
Panel Pairing: Navigate to the "Add Device" or similar menu on your Vivint panel (consult your panel's user manual if needed). Follow the on-screen instructions to pair the sensor. You'll likely need your PIN.
Testing: Open and close the door or window. The panel should display the sensor's status change. If it doesn't work, see the troubleshooting section below.
Pros:
- Immediate Feedback: See your sensor's status instantly on the panel.
- No Internet Needed: Works even with unreliable internet.
- Direct Control: You manage the entire process on the panel itself.
Cons:
- Panel Familiarity: Requires some experience navigating your Vivint panel.
- Slightly Longer Process: May take a bit longer than the app method.
Method 2: App-Based Installation
This method uses the Vivint app. It's fast and convenient, ideal for tech-savvy users.
Step-by-Step Guide:
Sensor Activation: Remove the battery tab to activate the sensor.
App Access: Open the Vivint app and ensure you're logged in and connected to a strong Wi-Fi network.
App Setup: The app will guide you through adding your sensor. You'll need to enter the sensor's TXID (Transmission ID), found on the sensor itself.
Placement: Position the sensor and magnet on the door or window as described in Method 1. Test before permanently securing.
App Verification: Open and close the door/window. The app should reflect the sensor's status changes. If this doesn't work, consult the troubleshooting section.
Pros:
- Quick and Easy: Generally the fastest installation method.
- Phone Control: Manage everything conveniently from your smartphone or tablet.
Cons:
- Internet Required: A stable internet connection is essential.
- App Reliance: App glitches might cause delays or problems.
- TXID Entry: Accurate TXID entry is crucial for successful pairing.
Comparing the Methods
Here's a quick comparison:
| Feature | Panel Installation | App Installation |
|---|---|---|
| Installation Time | Longer | Faster |
| Tech Skills Needed | Moderate | Basic |
| Internet Connection | Not Required | Required |
| Feedback | Instant, on-panel | Via app, slight delay possible |
| Potential Issues | Panel navigation difficulties | App glitches, connectivity problems |
Troubleshooting
Common Problems and Solutions:
- Sensor Unresponsive: Check the battery, ensure correct sensor/magnet alignment, and reposition if needed.
- Panel/App Errors: Consult the Vivint support website (https://support.vivint.com/) or your app for troubleshooting. Restart your devices if necessary.
- Intermittent Readings: Wireless interference might cause this. Move nearby electronic devices.
Conclusion
Both methods work well. Choose the method best suited to your skills and internet availability. The panel method offers immediate feedback and doesn't require internet, while the app method is quicker and more convenient if you have reliable Wi-Fi. Enjoy the added security!
⭐⭐⭐⭐☆ (4.8)
Download via Link 1
Download via Link 2
Last updated: Sunday, May 04, 2025